Netlify is an automated hosting platform for deploying static websites. With the aid of build tools such as Gradle, Netlify provides a smoother experience for previewing documentation. This can be done by using Netlify’s Deploy Previews feature, which shows a preview of the updated documentation whenever a pull request is made.
Setting up Netlify
-
Fork the repository to your own organization.
-
Go to https://www.netlify.com/ and click
Sign Up. Next, clickGITHUB SIGN IN, enter your GitHub account details and authorize netlify. -
After logging in, click
New site from Git. -
You will then be brought to the setup page. Click
GitHubto link your repository to Netlify.-
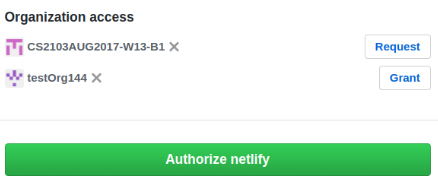
Depending on whether you are the owner of the repository, you can either grant or request access to Netlify so that it can access your repository and build your documentation.
-
After granting or requesting access to your repository, click
Authorize netlify.
-
-
Pick your repository from the list.
-
Fill out the details as follows and then click
Deploy site.-
Branch to deploy: select
masterbranch -
Build command:
./gradlew asciidoctorThe build command is the command that builds the documentation into HTML format. -
Publish directory:
build/docs/html5The publish directory is the directory in which the built HTML documentation resides.
-
-
Once Netlify has completed building your project, you can now:
-
View your main branch’s deployed documentation on the site name given by Netlify (customizable as shown below).

-
Preview the updated documentation whenever a pull request is made by clicking the
Detailshyperlink next to the Netlify test status.
-
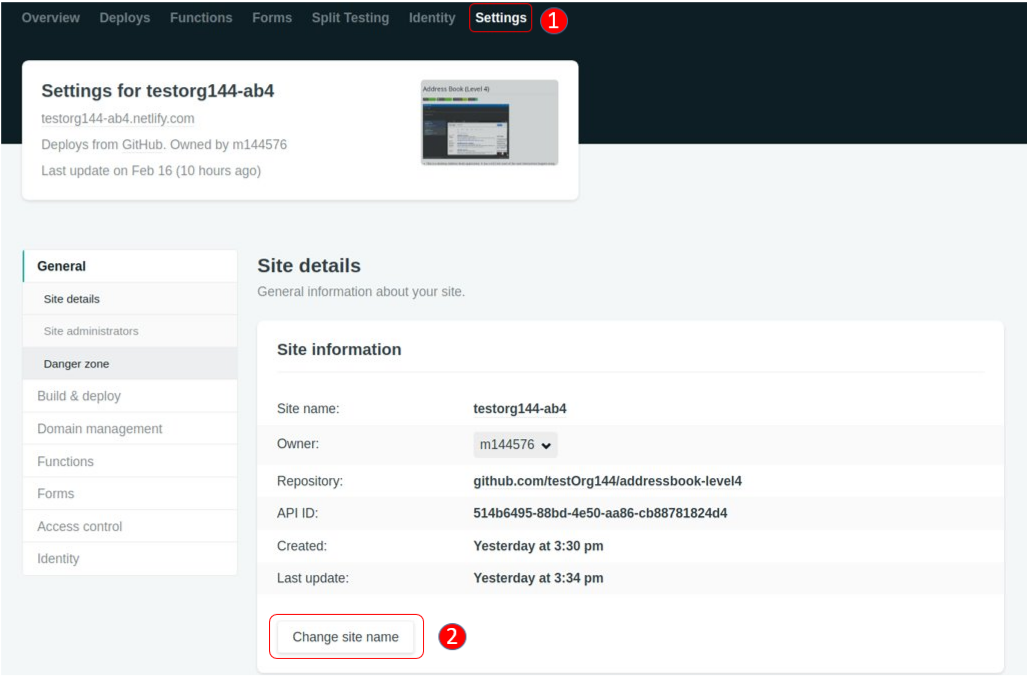
Changing the site name of your project
If you don’t like the site name given by Netlify, you can change it as follows:
-
Click on
Settings. -
Then click
Change site nameand fill in your desired site name.