By: T16-3 Since: Aug 2018 Licence: MIT
- 1. Introduction
- 2. Getting Started with BankAB
- 3. Features
- 4. FAQ
- 5. Command Summary
- 6. Appendix A: List of prefixes in the application
- 7. Appendix B: Privileges in accordance to priority level
1. Introduction
Bank Address Book (BankAB) is a business process management and workflow application platform, whereby its users are all the employees in a banking environment. This platform supports the basic daily routine of each employee such as:
-
Checking working schedule
-
Applying for leave application
-
Checking in and out during working hours
The managers and administrators will have higher priority access level of BankAB such as changing the
priority level of the employee and approve or reject leave requests.
This user guide will give you step by step instruction on how you can use the features of BankAB.
2. Getting Started with BankAB
-
Ensure you have Java version
9or later installed in your Computer. Download -
Create a folder named
BankABin the desired location. -
Download the latest
BankAddressBook.jarhere into the folderBankAB. -
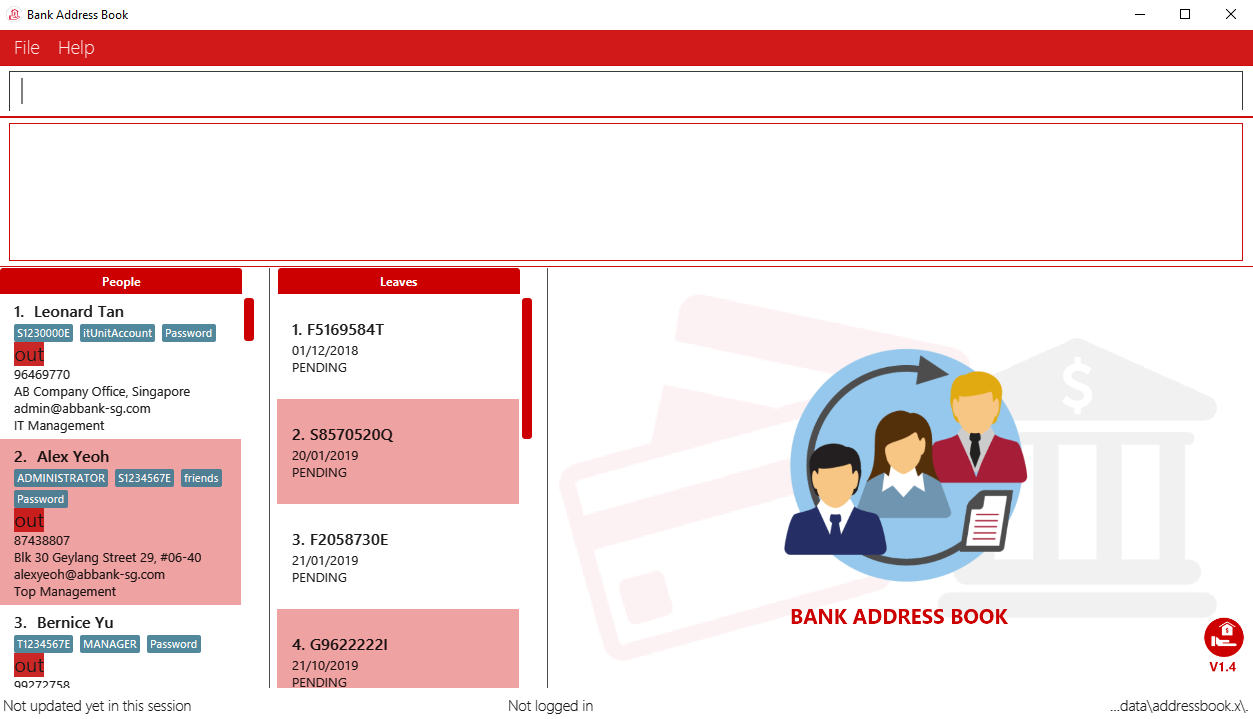
Double-click the file to start the app. The GUI should appear in a few seconds.
-
If the app does not contain any sample data (refer to Table 1), something went wrong during the download process. Delete the folder
BankABand repeat step 1 to 4. -
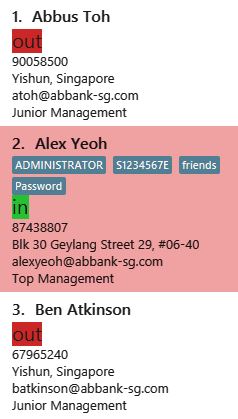
The following table contains a sample list of employees with the respective account details when the application runs for the first time or when ResetCommand was executed in the previous runtime:
Name |
NRIC |
Password |
Priority Level |
Alex Yeoh |
S1234567E |
Password |
ADMINISTRATOR (Highest Priority level) |
Leonard Tan |
S1230000E |
Password |
I.T. UNIT |
Bernice Yu |
T1234567E |
Password |
MANAGER |
Charlotte Oliveiro |
F1234567E |
Password |
BASIC (Lowest Priority Level) |
-
Type the command in the command box and press Enter to execute it.
e.g. typinghelpand pressing Enter will open the help window. -
Some example commands you can try:
-
login ic/S1234567E pwd/Password: Log in as Alex Yeoh, with a priority level of ADMINISTRATOR. -
list: lists all contacts -
add n/John Doe ic/S9458861T pwd/Password p/98765432 e/johnd@example.com d/Junior Management
a/311, Clementi Ave 2, #02-25 wr/7.5 t/friends t/owesMoney
: adds a contact namedJohn Doeto the Address Book. -
schedule 2: list the schedule of the 2nd employee in the address book -
exit: exits the app
-
-
Refer to Features for details of each command.
3. Features
Command Format
-
Words in
UPPER_CASEare the parameters to be supplied by the user e.g. inadd n/NAME,NAMEis a parameter which can be used asadd n/John Doe. -
Items in square brackets are optional e.g
n/NAME [t/TAG]can be used asn/John Doe t/friendor asn/John Doe. -
Items with
… after them can be used multiple times including zero times e.g.[t/TAG]…can be used ast/friend,t/friend t/familyetc. -
Using items without
…after them multiple times will cause the app to either accept the last acceptable item or prompt an error message. -
Parameters can be in any order. e.g.: Specifying parameters in the order ic/NRIC n/NAME is identical to n/NAME ic/NRIC.
-
All the commands listed below requires user to login unless specified.
3.1. Personal User Account
3.1.1. Login to the application: login
Logs in to the application using a registered NRIC and password.
Format: login ic/NRIC pwd/PASSWORD
Example: login ic/S1234567E pwd/Password
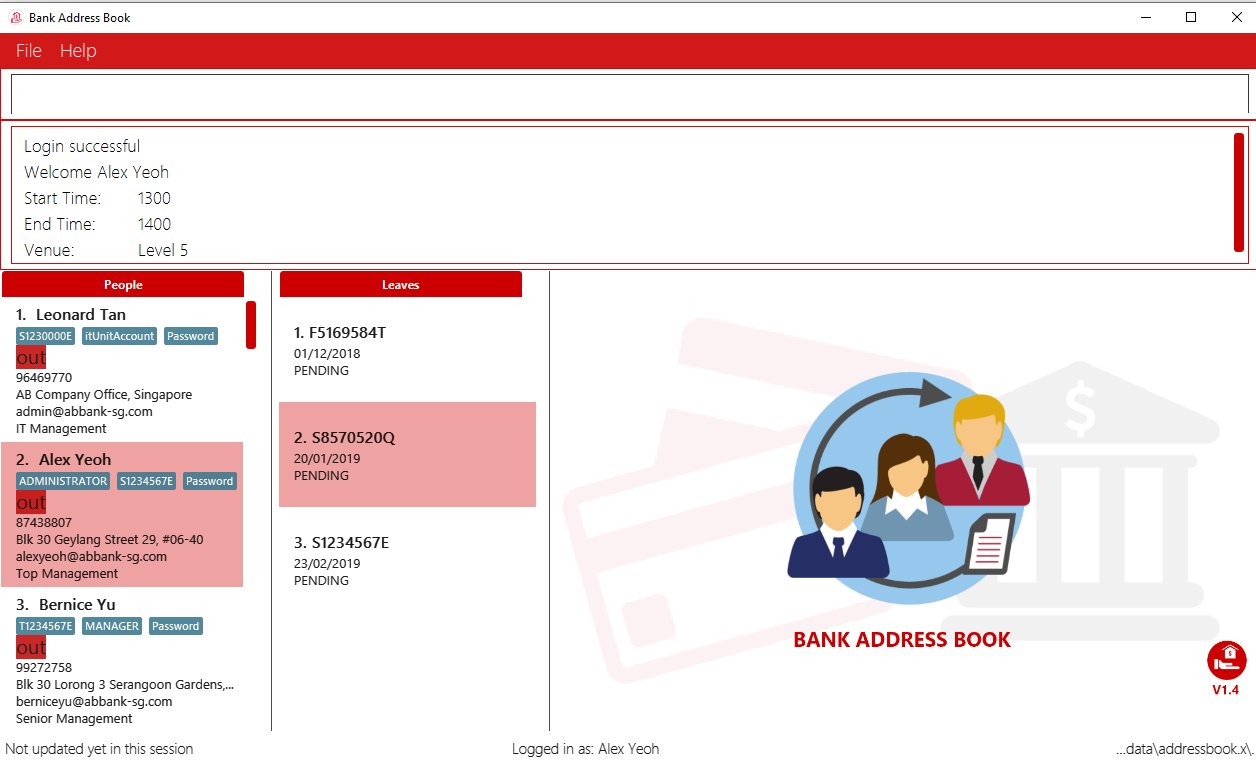
A successful login will show the NRIC and name which you have used to login, followed by the schedule of the day (if any).

3.1.2. Checks the login status of the application: checkloginstatus
Prints whether this application is logged in.
Also prints the logged in NRIC if logged in.
3.1.3. Logout of the application: logout
Logs out of the application, allowing for other users to log in again.
3.1.4. Editing personal particulars : edit
Edits the existing particulars of the logged in user.
Format : edit [n/NAME] [p/PHONE] [e/EMAIL] [a/ADDRESS] [t/TAG]…
|
This command will NOT be able to edit the following:
|
Examples:
-
edit p/91234567 e/johndoe@example.com
Sets the logged in employee’s details to the aforementioned email and phone number. -
edit t/friend t/lecturer n/John Doe
Sets the logged in employee’s details to the name of John Doe; clears all tag and sets the two aforementioned tags.
3.2. Employee Management Database
3.2.1. Adding an employee: add
|
Adds an employee to the address book
Format: add n/NAME ic/NRIC pwd/PASSWORD p/PHONE_NUMBER e/EMAIL d/DEPARTMENT a/ADDRESS wr/WORKING_RATE [plvl/PRIORITY_LEVEL] [t/TAG]…
|
Examples:
-
add n/John Doe p/98765432 e/johnd@example.com a/John street, block 123, #01-01 wr/7.5 d/Junior Management ic/T0249855I pwd/9EwciT plvl/1 -
add n/Betsy Crowe t/friend e/betsycrowe@example.com a/Newgate Tower p/1234567 d/Senior Management
t/Creditor ic/S1875858E pwd/Fed528F wr/10
3.2.2. Deleting an employee : delete
|
This operation requires administrator privilege to perform. |
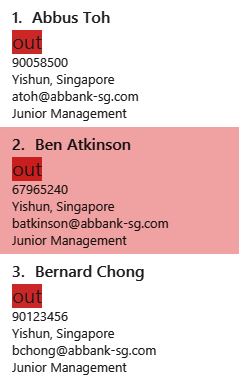
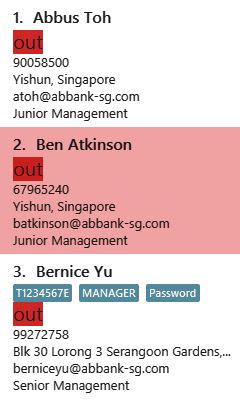
Deletes the specified employee from the address book.
Format: delete INDEX
Examples:
-
delete 1
Deletes the employee with index 1 in the address book.
3.2.3. Change priority level of employee: setplvl
|
Sets the priority level of an employee at the specified index.
Format: setplvl INDEX plvl/PRIORITY_LEVEL
Example: setplvl 1 plvl/0
-
A successful change of priority level should show the following message:
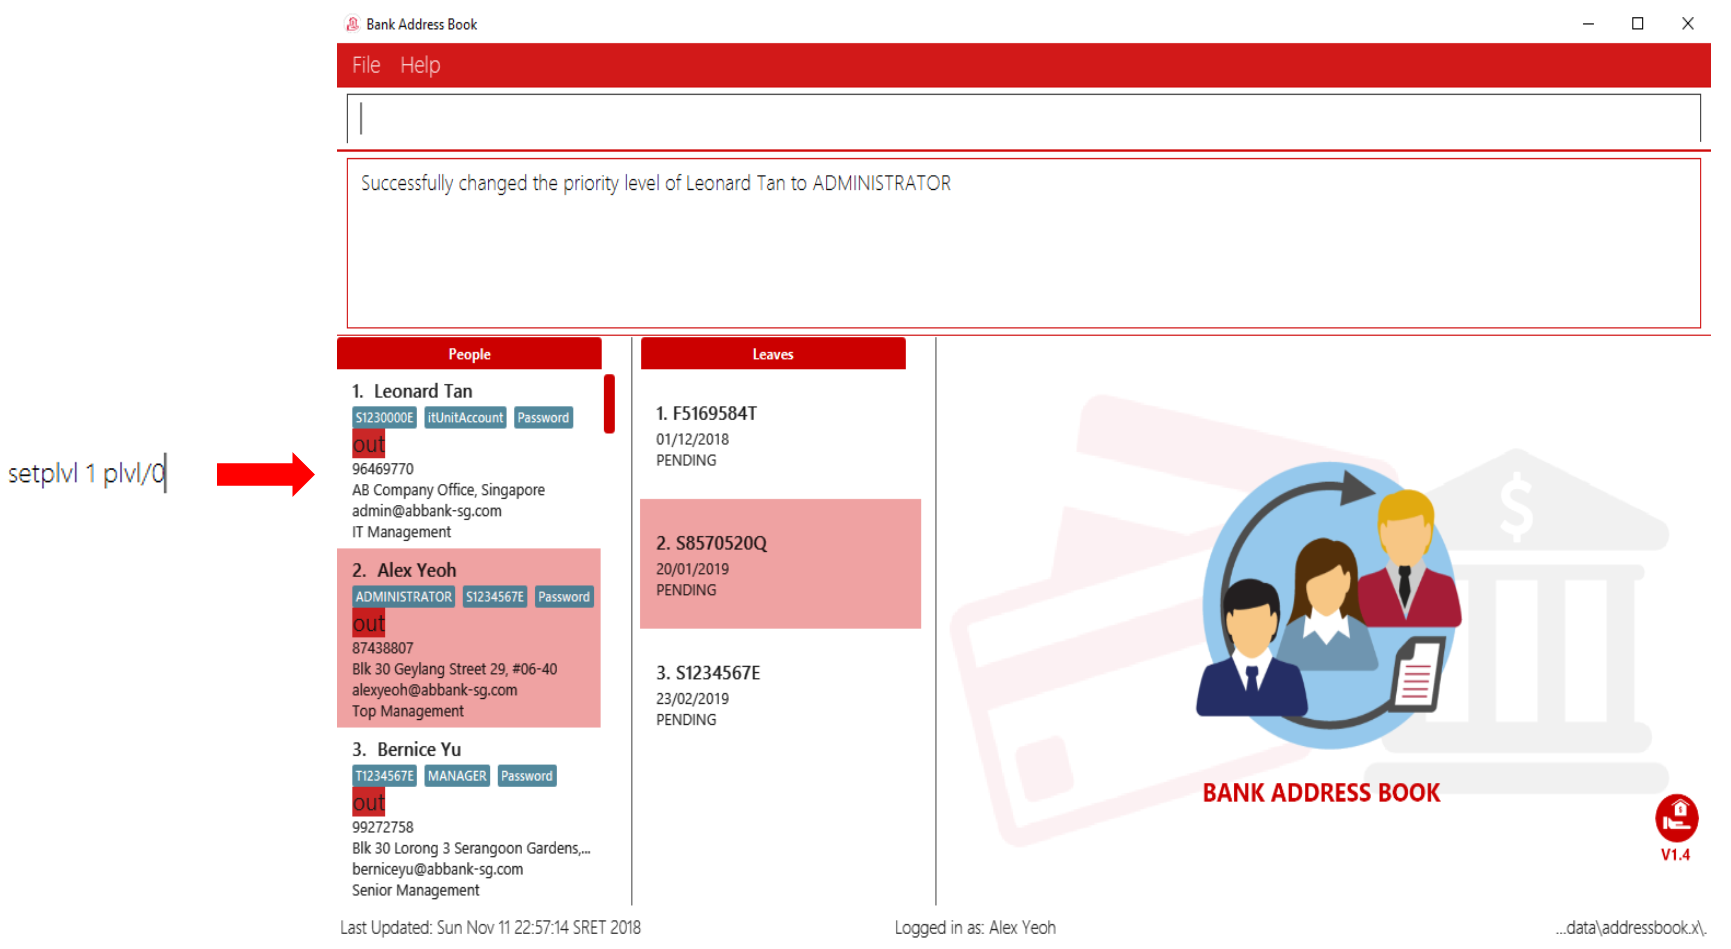
-
Users of insufficient priority level (below administrator priority level) will get the following error message when attempting to execute this command:
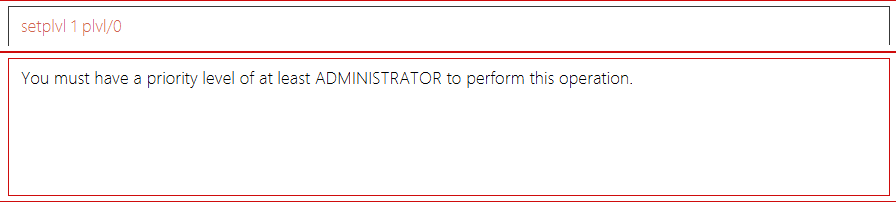
-
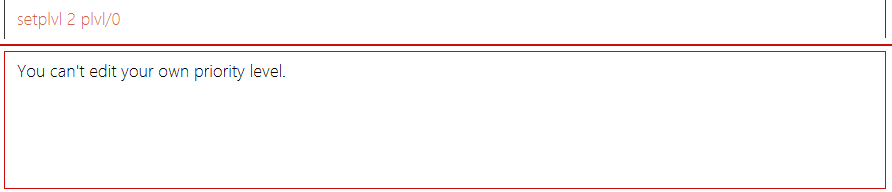
Users (with sufficient priority level), that attempts to change their own priority level will not be allowed to do so:
3.2.4. Change the department of an employee : setdepartment
|
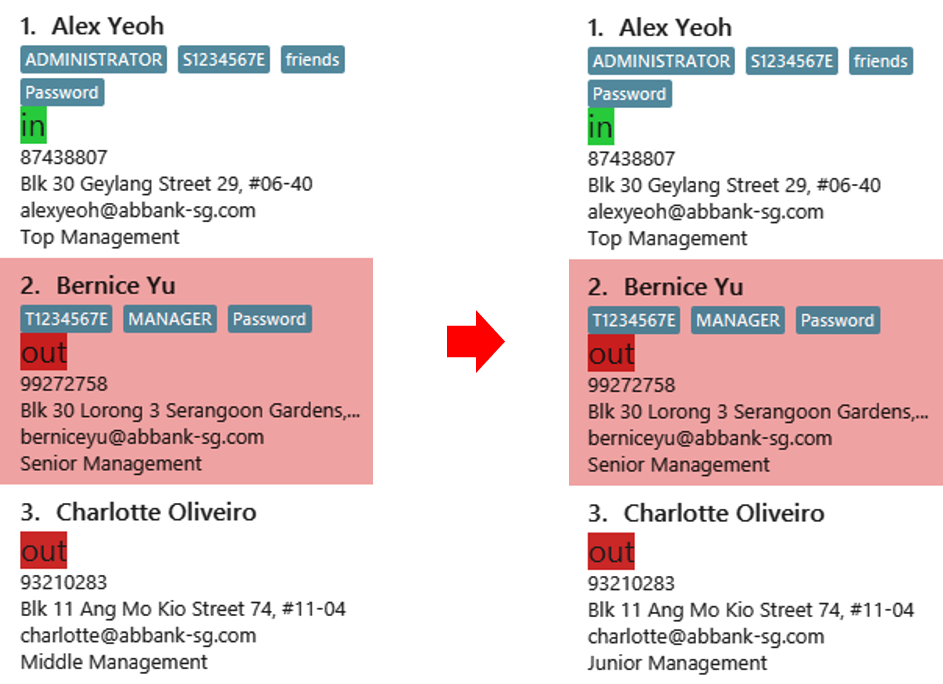
Changes the department of an employee.
Format: setdepartment INDEX d/DEPARTMENT
Alias: sd
Example: setdepartment 3 d/Junior Management
Changes the employee department with ID 3 in the address book to Junior Management.
3.3. Leave Application
3.3.1. Leave application : leave
Request leave application of the user for approval.
Format: leave date/DATE
|
Example: leave date/20/11/2019

Requested leave application on 20/11/2019.

3.3.2. List leave application : listleave
|
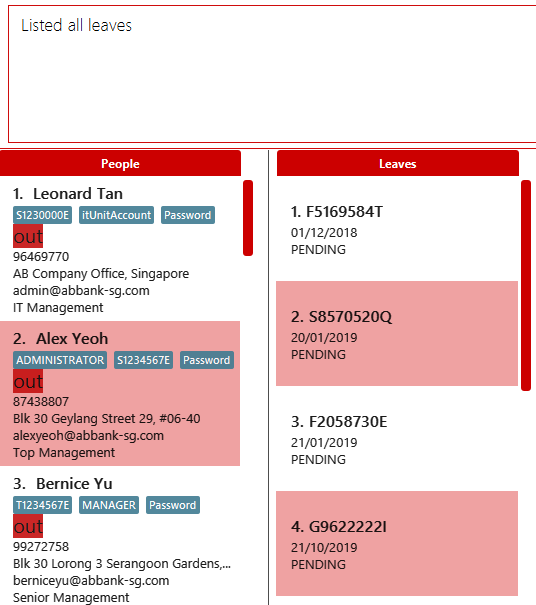
List out all leave application in the leave list.
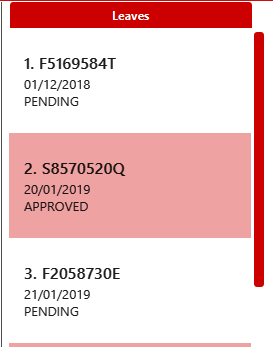
Format: listleave

Returns all the leave application in the system.
3.3.3. Filter leave application : filterleave
|
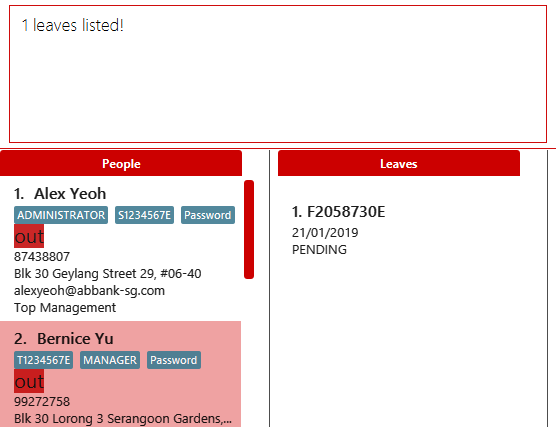
Filter leave applications based on NRIC.
Format: filterleave NRIC
Alias: fl
|
Example:
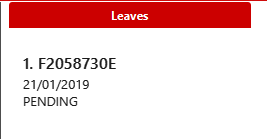
filterleave F2058730E

List all leave application requested by the user with NRIC, 'F2058730E'.
3.3.4. Delete leave application : deleteleave
Delete the specified leave from leave list.
|
Format: deleteleave INDEX
Alias: dl
Example:
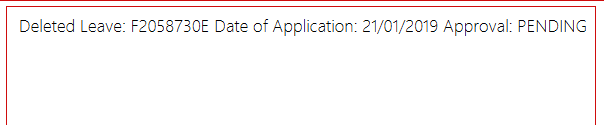
deleteleave 1

Deletes the leave application with INDEX 1 in the leave list.
3.3.5. Approve leave application : approve
Approve the specified leave application from leave list.
|
Format: approve INDEX
Example:
approve 2

Approve the leave application with INDEX 2 in the leave list.
3.3.6. Reject leave application : reject
Reject the specified leave application from leave list.
|
Format: reject INDEX
Example:
reject 2

Reject the leave application with INDEX 2 in the leave list.

3.4. Scheduling
3.4.1. List schedule: schedule
List schedule for the employee.
Format: schedule INDEX
|
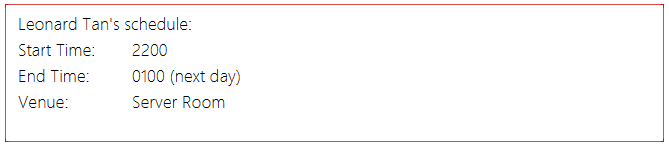
Example: schedule 1
Sample output:
3.4.2. Set schedule: setschedule
Set schedule of the employee.
Format: setschedule INDEX ts/TIME_START te/TIME_END v/VENUE
|
Examples:
-
setschedule 1 ts/1100 te/1600 v/Toilet
-
setschedule 2 ts/2200 te/0800 v/Main Door
3.5. Filtering/Sorting
3.5.1. Listing all employees : list
|
Shows a list of all employees in the address book.
Format: list
3.5.2. Locating employees by name: find
|
Finds employees whose names contain any of the given keywords.
Format: find KEYWORD [MORE_KEYWORDS]
Examples:
-
find John
Returns john and John Doe
-
find Betsy Tim John
Returns any employee having names Betsy, Tim, or John
3.5.3. Sort address book contacts: sort
|
Sorts the employees or departments of the current list in sorted order.
The list can be sorted in ascending or descending order.
Format: sort FIELD ORDER
|
This operation only supports the following fields and orders
|
Examples:
-
sort name asc
Sorts the employee names in the list in ascending order
-
sort department desc
Sorts the department names in the list in descending order

3.5.4. List department : listdepartment
|
Shows a list of departments available in the addressbook.
Format: listdepartment
Alias: ld
Example: listdepartment
Returns a list of departments available in the addressbook currently. Listing of department names are in ascending order.

3.5.5. Filtering department : filterdepartment
|
Filter departments and list out the employees who are in the department.
Format: filterdepartment KEYWORD [MORE KEYWORDS]
Alias: fd
-
The search is case insensitive. e.g.
juniorwill match employees inJunior Management -
Only full words will be matched. e.g.
juniowill not matchJunior Management -
Filtering of more than one department will list out the employees in the departments.
Examples:
-
filterdepartment junior
Returns a list of employees who are in Junior Management.
-
filterdepartment junior senior
Returns a list of employees who are in Junior Management and Senior Management.
3.6. Miscellaneous
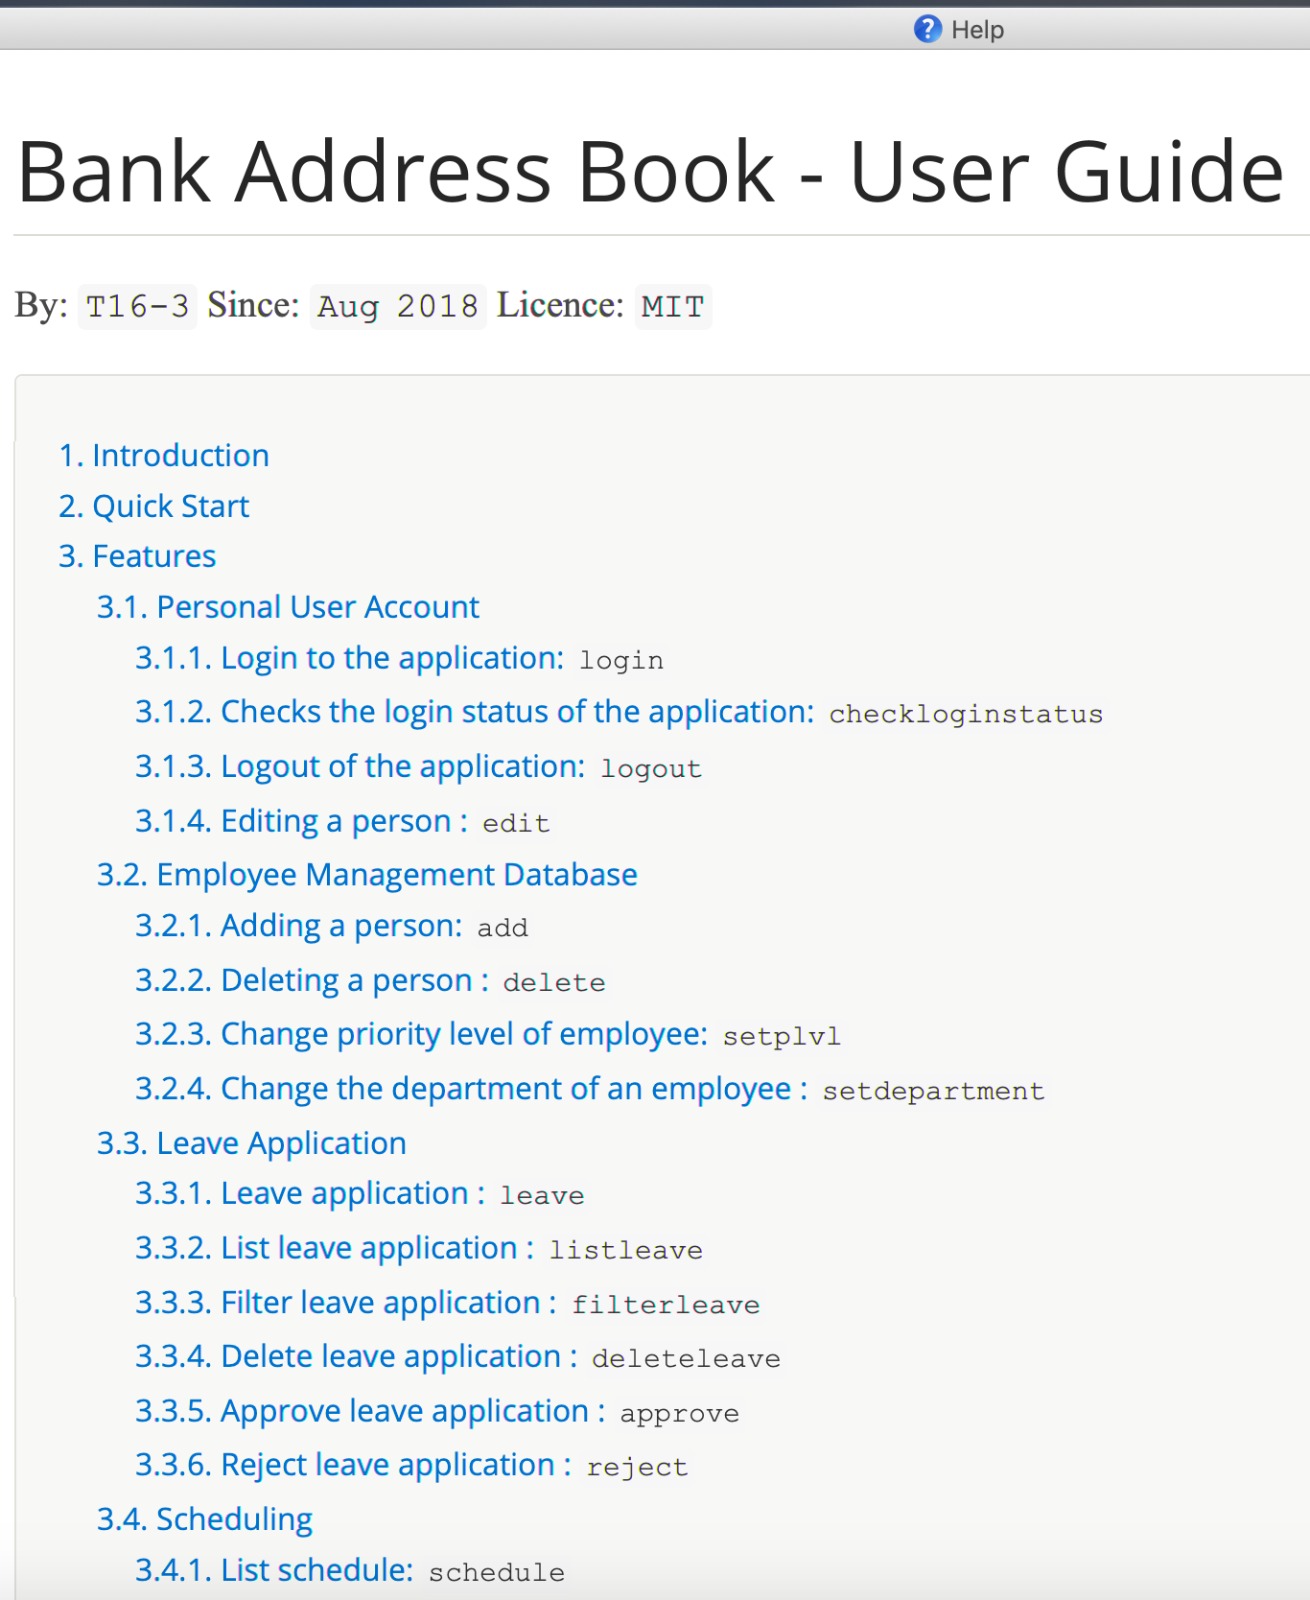
3.6.1. Viewing help : help
Format: help
|
User Guide will open in a separate window shown below:
3.6.2. Selecting an employee : select
|
Selects the employee identified by the index number used in the displayed employee list.
Format: select INDEX
Examples:
-
list
select 2
Selects the 2nd employee in the address book. -
find Betsy
select 1
Selects the 1st employee in the results of thefindcommand.
3.6.3. Listing entered commands : history
|
Lists all the commands that you have entered in reverse chronological order.
Format: history
|
Pressing the ↑ and ↓ arrows will display the previous and next input respectively in the command box. |
3.6.4. Check in/out working hours: check
Updates check in/out status for employees.
Format: check m/MODE
Examples:
-
check m/in
User checked in:
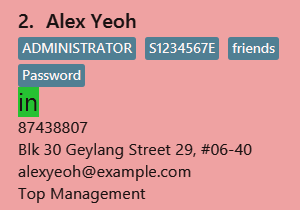
Checked in shows:
-
Checked in date
-
Checked in time

-
check m/out
User checked out:
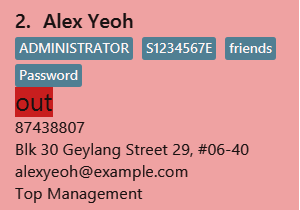
Checked out shows:
-
Checked out date
-
Checked out time
-
Hours worked
-
Salary per day according to employees' working rate per hour, both rounded off to 2 decimal places.

3.6.5. Reset the application : reset
|
This operation requires user to be logged in with a privilege level of |
Resets the application into a default state, by deleting data/AddressBook.xml and data/leave.xml. The application will also close upon deleting the two files.
Refer to the List of Default Contacts upon app reset on the contacts available.
Format: reset
3.6.6. Exiting the program : exit
Exits the program.
Format: exit
3.7. Saving the data
Address book data are saved in the hard disk automatically after any command that changes the data.
There is no need to save manually.
4. FAQ
Q: How do I transfer my data to another Computer?
A: Install the app in the other computer and overwrite the empty data file it creates with the file that contains the data of your previous Address Book folder.
5. Command Summary
5.1. Personal User Account
-
Login:
login ic/NRIC pwd/PASSWORD -
Check login status:
checkloginstatus -
Logout:
logout -
Edit personal particulars:
edit [n/NAME] [p/PHONE] [e/EMAIL] [a/ADDRESS] [t/TAG]…
5.2. Employee Management Database
-
Add employee:
add n/NAME ic/NRIC pwd/PASSWORD p/PHONE_NUMBER e/EMAIL d/DEPARTMENT a/ADDRESS wr/WORKING_RATE [plvl/PRIORITY_LEVEL] [t/TAG]… -
Deleting employee:
delete INDEX -
Set priority level of an employee:
setplvl INDEX plvl/PRIORITY_LEVEL -
Change department of an employee:
setdepartment INDEX d/DEPARTMENT
5.3. Leave Application
-
Add leave application:
leave date/DATE -
List all leave applications:
listleave -
Filter leave applications:
filterleave NRIC -
Delete leave application:
deleteleave INDEX -
Approve leave application:
approve INDEX -
Reject leave application:
reject INDEX
5.4. Scheduling
-
List schedule:
schedule INDEX -
Set schedule:
setschedule INDEX ts/TIME_START te/TIME_END v/VENUE
5.5. Filtering/Sorting
-
List employee list:
list -
Find employee:
find KEYWORD [MORE_KEYWORDS] -
Sort address book contacts:
sort FIELD ORDER -
List available departments:
listdepartment -
Filter departments:
filterdepartment KEYWORD [MORE KEYWORDS]
5.6. Miscellaneous
-
Help:
help -
Select the employee:
select INDEX -
History of commands:
history -
Check in/out working hours:
check m/MODE -
Reset the application:
reset -
Exit application:
exit
6. Appendix A: List of prefixes in the application
| Parameter name | Prefix | Constraints | Example |
|---|---|---|---|
Name |
n/NAME |
Name must be alphabetical |
n/Lewis Hamilton |
NRIC Number |
ic/NRIC |
NRIC should start with an upper-case character [S, T, F, G], followed by a seven-digit number, and ending with a upper-case alphabet. NRIC for every single individuals must be unique. |
ic/S9203948E |
Password |
pwd/PASSWORD |
Password should be alphanumeric and should contain at least five characters |
pwd/NeUeR2018 |
Phone |
p/PHONE |
Phone numbers should contain only numbers, and should have at least three digits. |
p/81667800 |
e/EMAIL |
Emails should be of the format local-part@domain, and also satisfy the following requirements: |
e/jarvin@eltech.com |
|
Department |
d/DEPARTMENT |
Department should contain alphabetic characters and spaces, and it should not be blank. Department names should start with a name, and ends with 'Management'. |
d/Junior Management |
Address |
a/ADDRESS |
N/A |
a/Blk 25, Ang Mo Kio Street 23 #04-21, s(630025) |
Mode |
m/MODE |
Mode should only contains "in" or "out". |
m/in |
Working Rate |
wr/WORKING_RATE |
Working rate should only contains whole or decimal numbers. |
wr/7.5 |
Priority Level |
plvl/PRIORITY_LEVEL |
Priority Level should be a number respective to the following classification: |
plvl/2 |
Tag(s) |
t/TAG1 t/TAG2 … |
Tag names should be alphanumeric |
t/Admin t/Boss t/OweMeMoney |
| Parameter | Prefix | Constraints | Example |
|---|---|---|---|
Start Time |
ts/TIME_START |
Start Time should only be in numeric HHMM 24 hour format, and it should not be blank |
ts/0900 |
End Time |
te/TIME_END |
End Time should only be in numeric HHMM 24 hour format, and it should not be blank |
te/1800 |
Venue |
v/VENUE |
Venue should only contain alphanumeric characters and spaces, and it should not be blank |
v/Level 5 |
| Parameter | Prefix | Constraints | Example |
|---|---|---|---|
Date |
date/DATE |
Date must be in DD/MM/YYYY format |
date/20/11/2019 |
7. Appendix B: Privileges in accordance to priority level
| Priority Level | Typical Roles | Privileges |
|---|---|---|
BASIC (3) |
- Intern |
- Edit your own particulars |
MANAGER (2) |
- Head of Departments |
- All privileges of a BASIC Priority Level |
I.T. UNIT (1) |
- I.T. Department |
- All privileges of a MANAGER Priority level |
ADMINISTRATOR (0) |
- Branch Manager |
- All privileges of a MANAGER Priority level |